Comic Book Coloring Notes
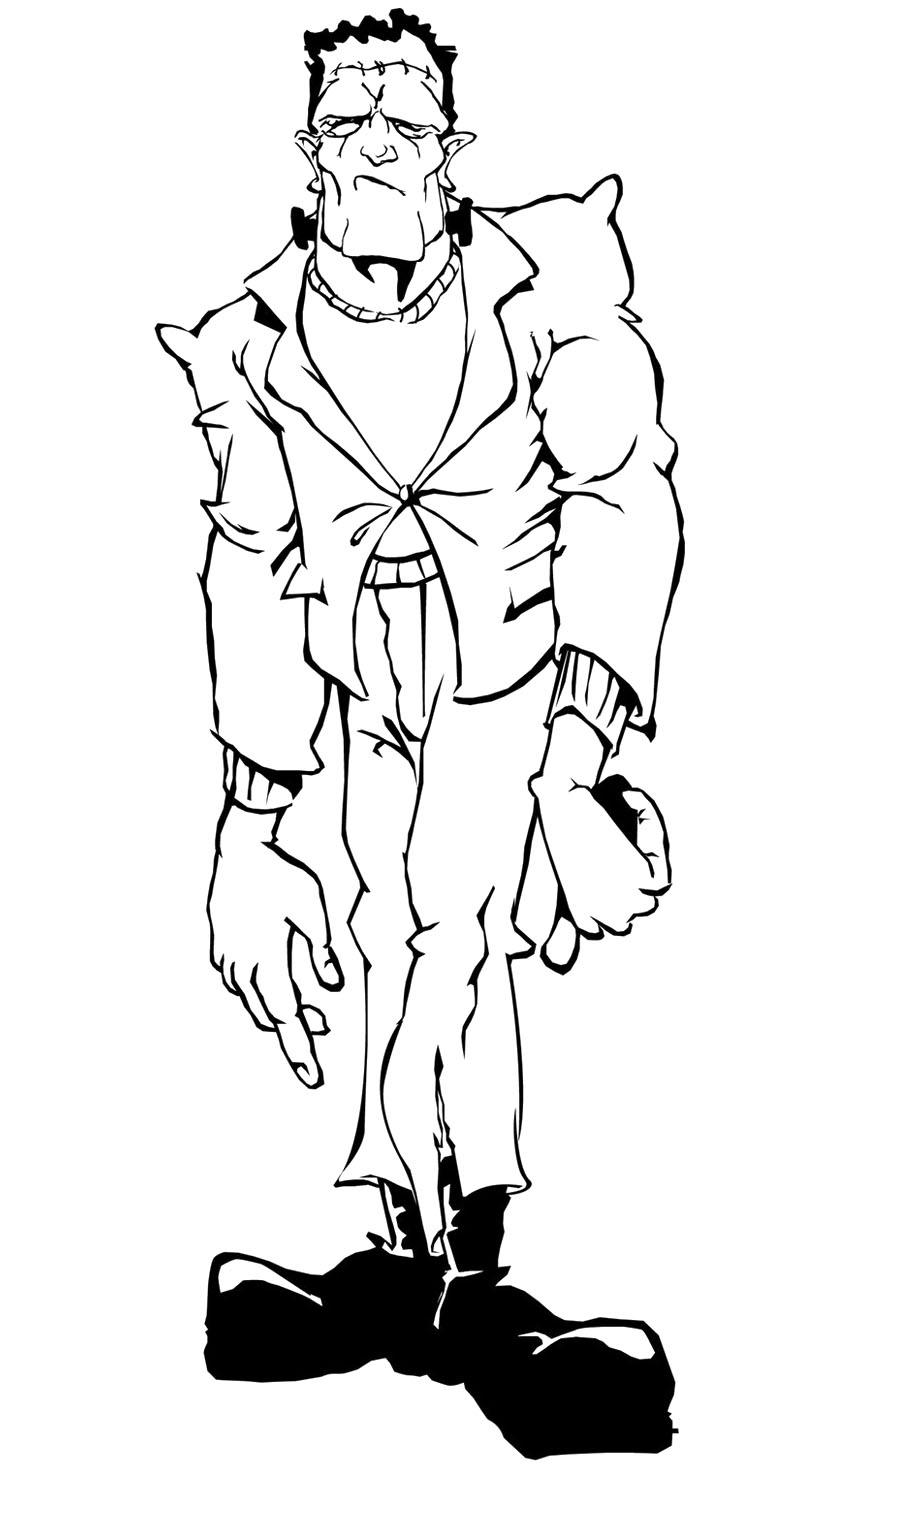
There are a number of techniques you can use to color your or someone else’s
Download Comic book color pallets here.

Shortcuts
COMMAND H-toggles hide and unhide selectionB-Brush toolE– EraserLLasso toolSHIFT LCycle through the lasso tools.G– The Paint bucket.
While in lasso mode:- Pressing
SHIFTwill add to a selection. - Pressing
OPTIONwill subtract form a selection. - If you press
OPTIONwhile you’re still drawing a selection you can switch to the Polygonal Lasso which will allow you to draw straight lines.
NOTE: Once we learn how to use the pen tool in the Illustrator section you might prefer for making selections over the lasso tool.
Scanning your artwork
We have scanners available in our class room as well as the DPS, the DPL and the Library. When you are scanning your work:
- Try to get it to lie flat. If drawing something to be colored don’t do it in your sketch book as the spine will make it hard to get a nice black and white image without the shadow from the paper curling around. If you find that you are always drawing things that you would later like to color invest in a spiral bound sketchbook for better results.
- Make sure the glass of the scanner is clean. Cleaner is available at the help desk. When cleaning make sure you spray the cleaner on the paper towel not directly on the scanner’s glass.
- Scan at least 300 dpi in grayscale for pencil and black and white for inks.
- Use the side of the scanner and bottom to prevent crooked scans.
- Do a preview scan so you can crop and touch up your scan first.
Line work clean up
- Use Photoshop’s levels to get rid of any shadow or fuzz.
- If someone else scanned the image and there are color remnants change the color mode to grayscale and then bitmap to help fix this. Then switch the mode back to RGB for digital or CMYK for print.
Prepping the digital image
- Name the original artwork layer ‘Line work’ set its layer blend mode to ‘Darken’ and lock it.
- Create a new layer beneath the Line work layer, label it ‘Flats’ and prepare to color the line-work.
Creating ‘Flats’
Flats refers to flat colors for each of your images
- To avoid any stray white which might show up with print misalignment we will be setting a base color for the background and each object using the lasso tool, to avoid any shift in color make sure the `Anti-Alias’ checkbox up in the options menu bar is not checked.
- Work from large objects to small using the lasso tool also make sure you’re tracing about
halfway through your line-work. - Remember you can add to a selection with the lasso tool by holding down
the SHIFTkey and you can subtract a selection by holding downthe OPTIONkey . - After you’ve selected the entire panel
fill it with a color using thepaint-bucket tool. - Remember
that COMMAND Hwill hide or show your selection so if it’s not showing up try pressing this key combination to unhide your selection. - Slowly work down in size of objects with the lasso tool and fill them in.
An alternative method for starting your Flats
- Use the quick selection tool
Won the Line Art layer to select the part you want to color fliping back and forth from Quick Select mode – (keyboard shortcutQ) to see what is or isn’t selected. - Select the Flats layer and then use the Paint Bucket tool
Gto fill the object in with a neutral color. - Press the Transparency Lock button in the layers palette to lock the your painting to only the colored part of that layer.
- Use the Lasso tool to select and the paint brush or paint bucket tool to add flat color to the objects in the image starting from biggest and working your way down to smallest.
Creating highlights and shadows with the ‘Cut and Grab’ method.
- Now that the flats are done you are ready to add highlights and shadows. Duplicate the ‘Flats’ layer and label it ‘Colors’.
- To make your job easier click on the
Lock transparent pixelsbutton (it looks like a little checkerboard) in the layers pallet. - Now create your highlights and shadows by creating a stencil with your lasso tool and filling it in with the paint bucket or the paint brush. Remember you don’t have to worry about going outside the lines because you won’t able to paint on anything that doesn’t already have color on it.
- You can also change the feathering of the lasso tool in the options bar to create a softer transition from one color to another.
The Painted Method
The painted method will make things look a little more painterly. Once again your choice between these methods is usually one of style and you can use the techniques from either of these together as long as everything looks unified.
- Turn the opacity of your flats down to 0.
- Create a new layer called ‘Paint’
- Using the magic wand with a tolerance of 0 select the color you want to paint on the ‘Flats’ layer.
- Switch to the ‘Paint’ layer and using the techniques we learned in the digital painting section paint in the color you want.
Other Notes
- Try to create a pallet of colors using the color pallet to help keep things unified.
- To avoid muddy print colors make sure the colors you pick have no more than 30% black ‘K’ in the CMYK section of the color picker.
- If you are interested in learning how to flat, there is are some plugins for photoshop which will make it much easier. One is free the other is roughly $50 they are available at
Peltmade – here. - The video I used to create most of this tutorial is available below.
