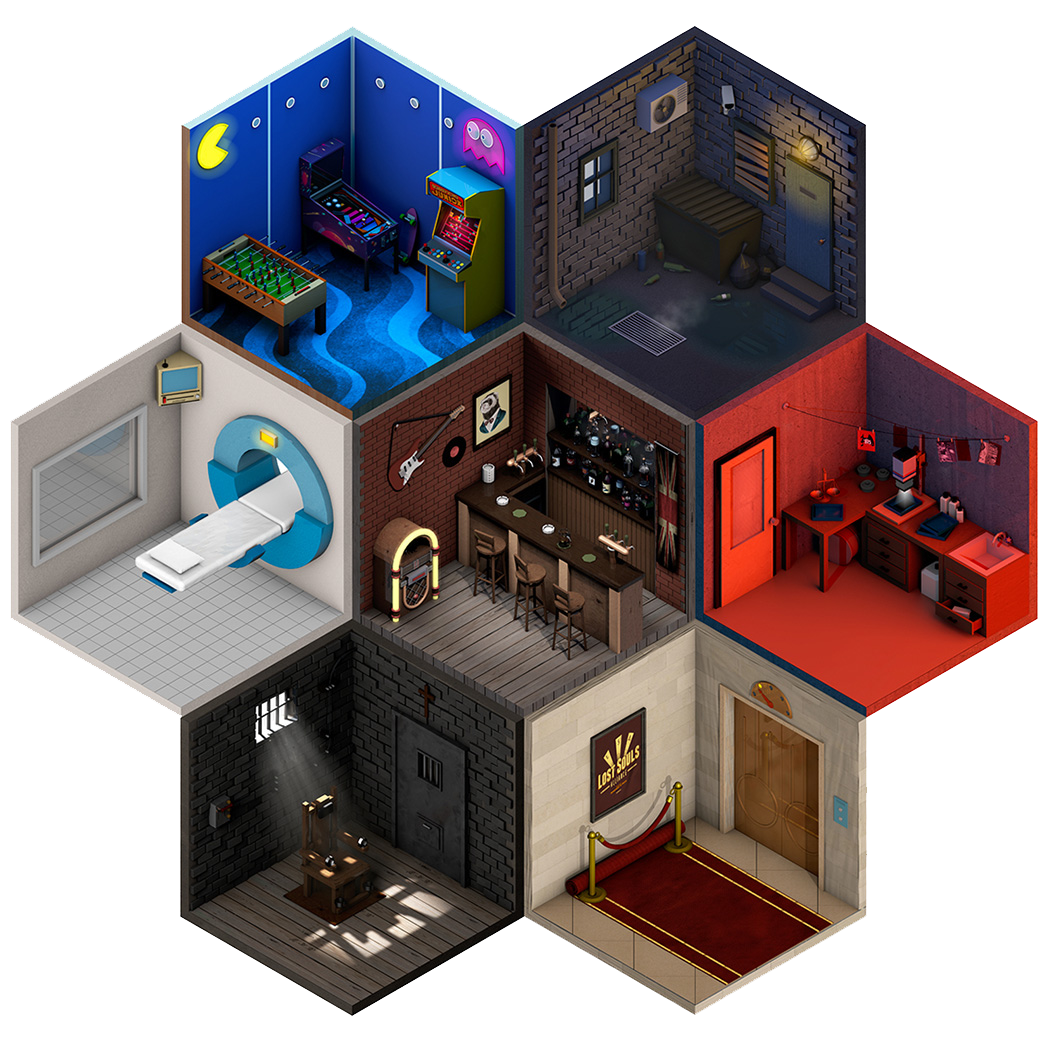
Original Image by Hextra Life
The notes provided here are a modification of a YouTube video by Camp Keyframe embedded at the bottom of this post.
Part 1 Setting up your grid
You can also skip this step and use the already created template provided here.
- Select the rectangular grid tool and instead of dragging out a grid click once in the center of your project this will bring up the grid tool options.
- In the options box, set the width and height to 2500 px (you can modify this based on your artboard this size works well for one that is 1920 x 1080 px).
- Set the verticle and horizontal dividers to 70 and hit OK. You should now have a large grid.
- Using the rotate tool, hold down the shift key and rotate the grid 45°.
- Double click on the scale tool and in the window that pops-up click on Non-Uniform. Keep the horizontal at 100% and change the vertical to 57.74. and hit OK.
- You should now have an isometric grid, select the entire gride and in the menu section select View > Guides > Make Guides to transform the grid into guides.
Drawing shapes
What follows looks like a lot of steps but taking the time to do this once will make the rest of this project so much easier.
- You can use the pen tool to follow the grid to create freehand shapes.
- Make sure Snap to Pixel is turned off in the BLANK menu.
- If the grid is too rigid for certain shapes you can toggle it on and off using SHIFT COMMAND ‘ (this is right next to the Return key) on mac or SHIFT CONTROL ‘ on a PC.
- Remember to group your shapes by pressing COMMAND G on a Mac or CONTROL G on a PC.
- To make a rectangle smaller select the anchor points that make
top of the rectangle with the white arrow and then drag it down to resize it. - To create points find the center of your rectangle and drag the top point up to the height you want it while holding the SHIFT key. then create the side.
Creating Isometric actions to make your life easier
Setting Up ISO Left
- Create 3 rectangles, we’re going to delete these later so as long as you can see them it doesn’t matter how they look.
- Go to Windows > Actions to make sure the actions window is visible.
- Create a new folder in the actions window and call it Isometric.
- Now create a new action by pressing the little icon that usually means a new layer.
- Name the action Iso Left.
- Click on the red record button to start recording your action.
- select one of the shapes and then double click on the Scale tool.
- Make sure scale is still set to Non-Uniform and set the Horizontal Scale to 82% and the Vertical to 70.5% and hit OK.
- Double click on the sheer tool and in the window that pops up set the Sheer angle to -30° and hit OK.
- Double click on the rotate tool and set the rotation to -30° as well and hit OK.
- Now hit Stop in the action window to stop recording.
- Select a new shape.
Setting up ISO Right
- Create a new action called ISO Right.
- Set the scale properties to a horizontal of 82% and a vertical of 70.5% again.
- Set the sheer properties to 30° this time (not -30° like the last time)
- Set the rotation properties to 30° as well.
- Select the box and right-click or control-click and select Transform> Reset Bounding Box to clean up the bounding box.
- Stop this action as well.
Setting up ISO Top
- Select the last rectangle.
- Create a new action called ISO Top.
- Set the scale properties to a horizontal of 82% and a vertical of 70.5% again.
- Set the Sheer to 30°.
- Set the rotation properties to -30°.
- Select the box and right-click or control-click and select Transform> Reset Bounding Box to clean up the bounding box.
- Stop recording. Congratulations you’ve saved yourself a lot of isometric time!
